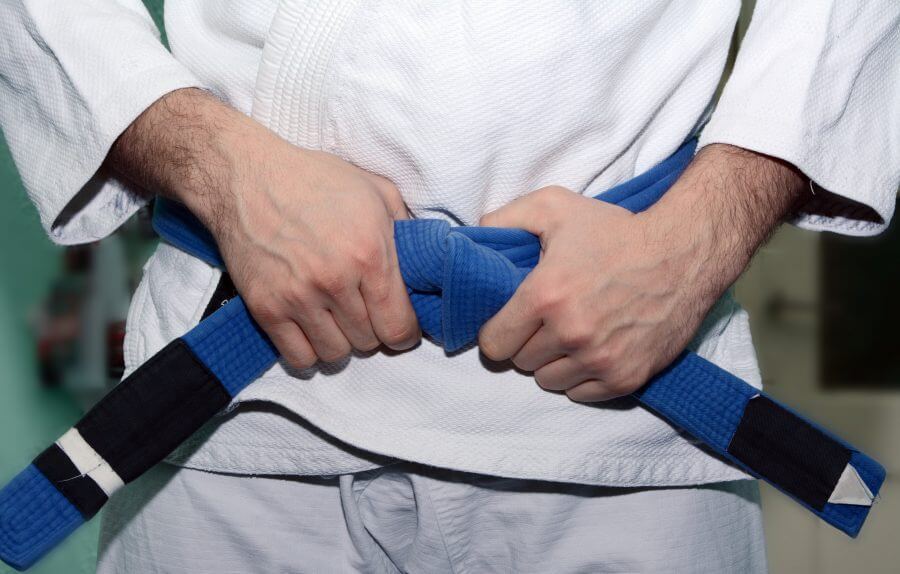
One of the trickiest things for a new martial artist is not the warm-up roll exercises. It is how to tie the gi belt properly. The belt, which is also known as an obi, is crucial for keeping the gi in place during training and competition. An incorrectly tied gi belt could cost you during competition, too.
There are a few different ways to tie the belt, and each style has its own advantages and disadvantages. The most important thing is to make sure that the belt is tight enough to stay in place but not so tight that it constricts movement. With a little practice, tying the perfect knot will become second nature.
We will show you in video and pictures how to tie the gi belt for any martial art. The result is a knot that holds in the middle and looks professional.
Tying your own belt properly is important
You will want to learn how to tie your own gi belt and not leave it to others. This shows that you can take initiative, that you are respectful of the dress code, and that you are responsible.
Having the correct method of tying your jiujitsu (or any martial art) gi belt may even give you an advantage on the mat. Having it stay on and secure is important when you are practicing or competing.
Below we have a video and step-by-step pictures to show you how to tie your jiujitsu belt.
Here is 13-year-old Matthew Bain, a 4X undefeated Southern California Jiu-Jitsu Champ, showing you how to tie a gi belt.
Below is the picture version of what the video above shows. For many people, still pictures are easier to follow than video.
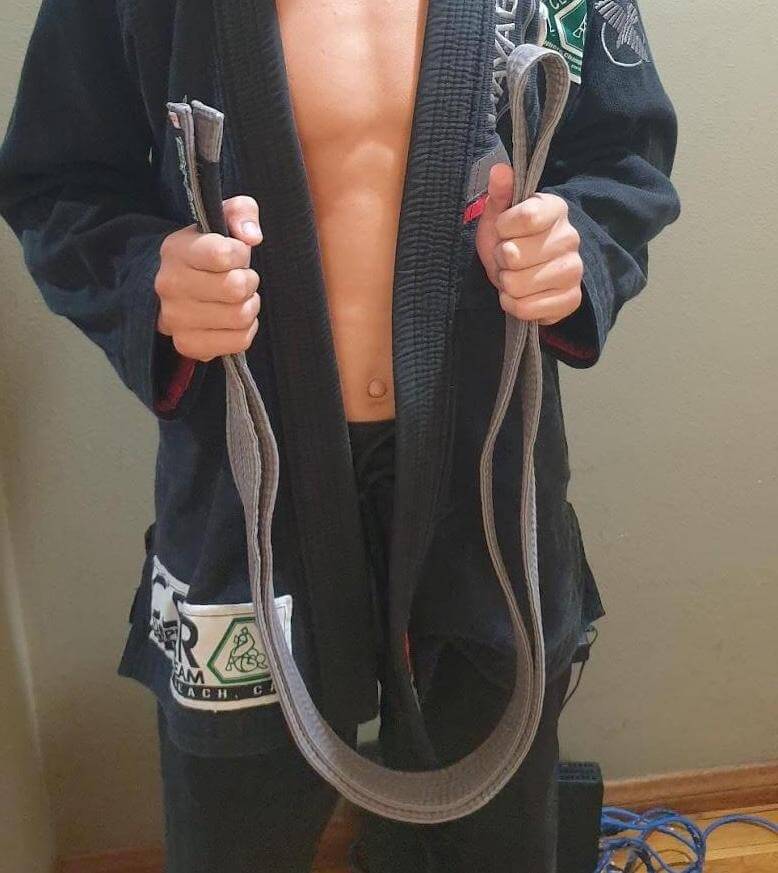
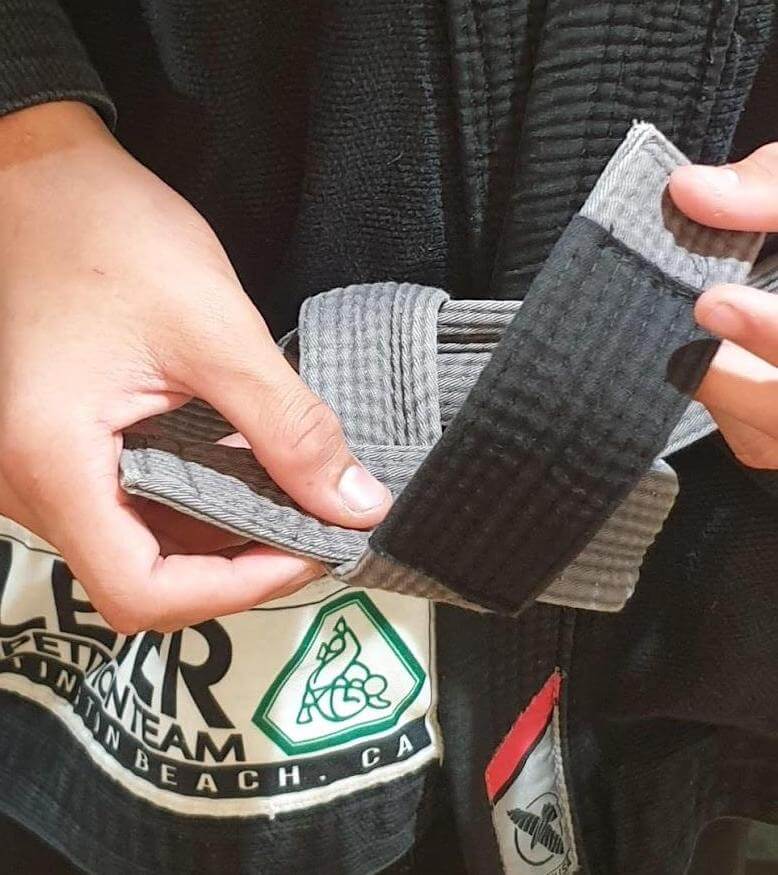
1. Put the ends of the belt together as shown, be sure there are no twists in the belt.
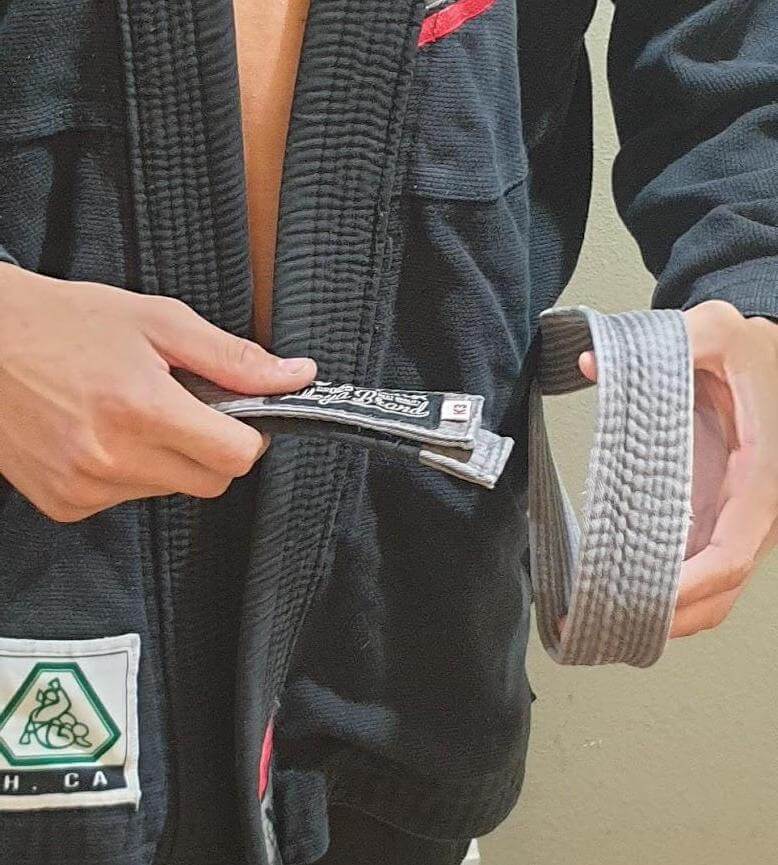
2. Put the 2 ends through the loop of the belt on the opposite end.
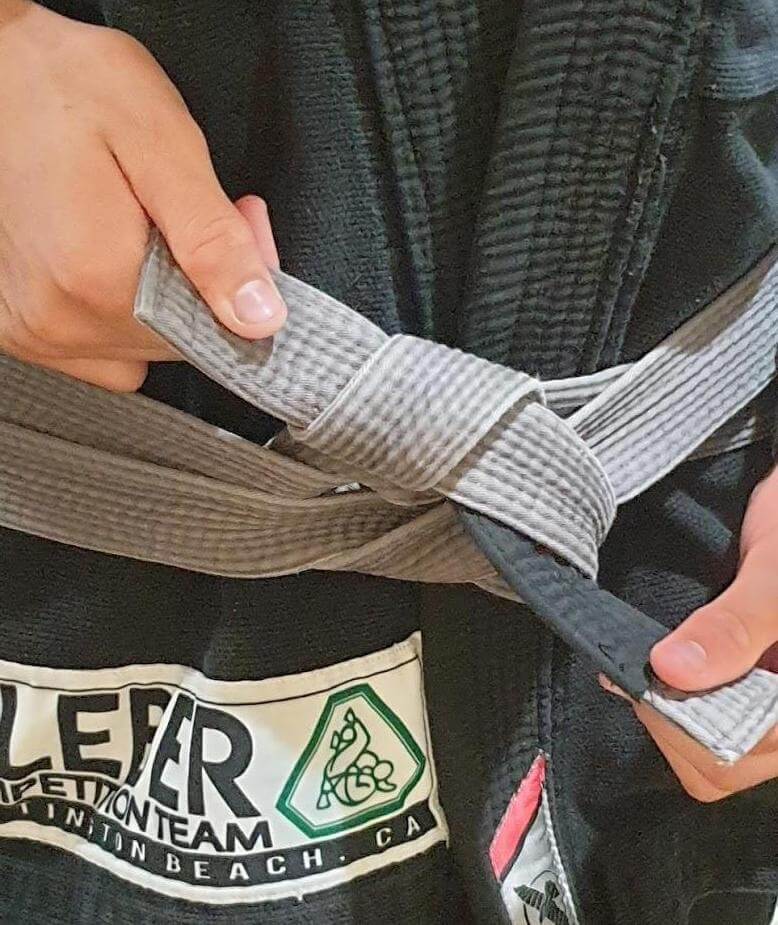
3. Put the tail on the bottom, under and over the hole located closest to your stomach and tighten.
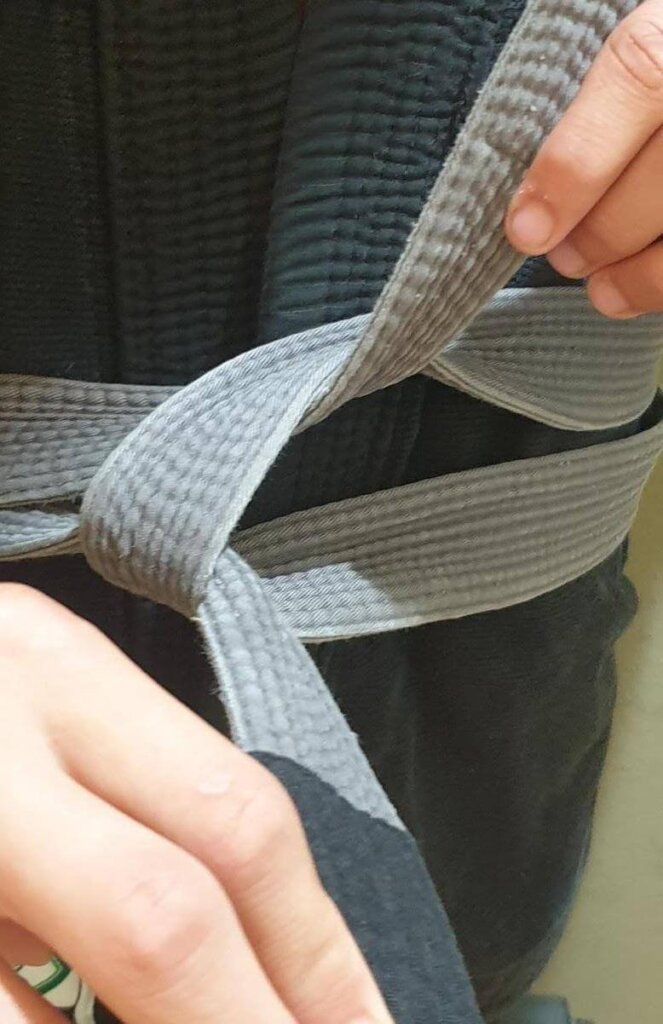
4. The tail that was on the bottom is now going under and over crossed section of the belt.
5. This is an image of the above, tightened.
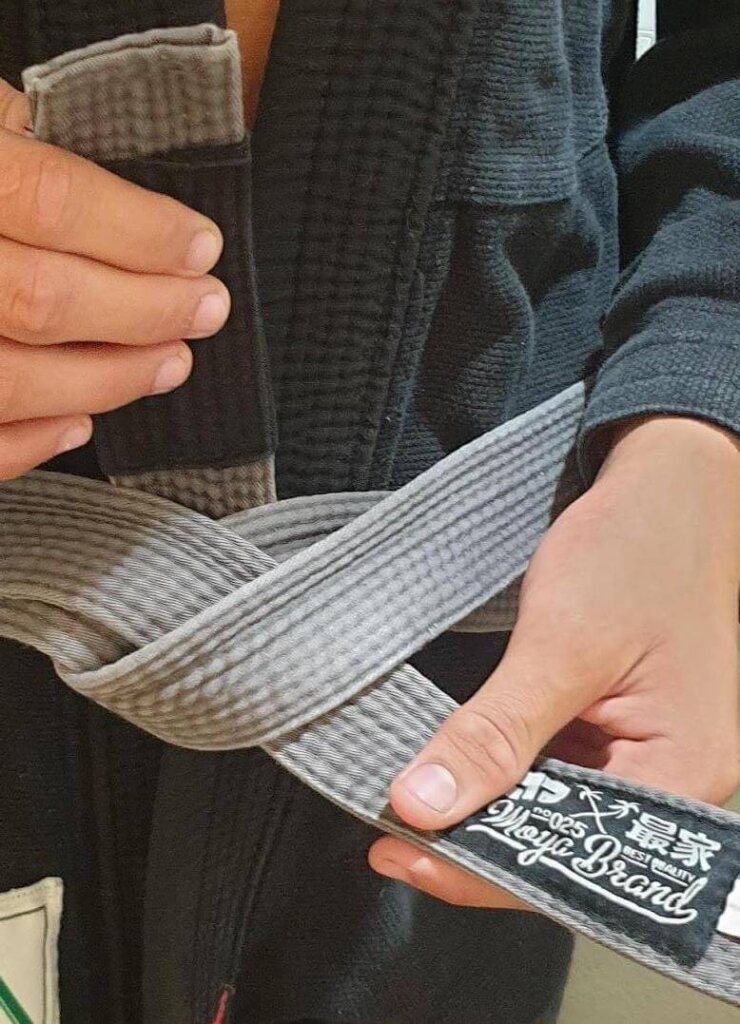
6. Now put the right tail under the left tail, making an X figure. With the RIGHT tail going over and under the left tail.
7. Make sure to straighten up the left tail which may have twisted from doing the previous action.
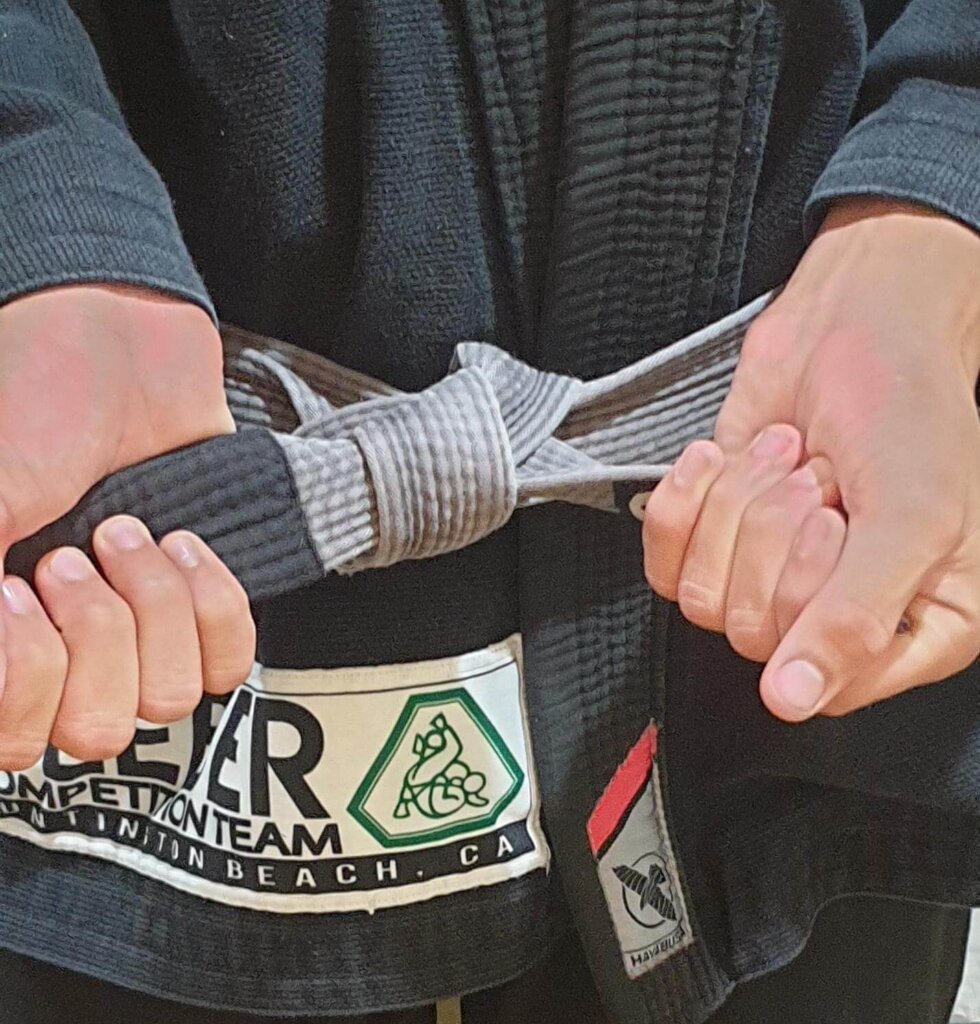
8. This is the above step being tightened in progress.
9. Finally tighten once more and it should be ready to go.
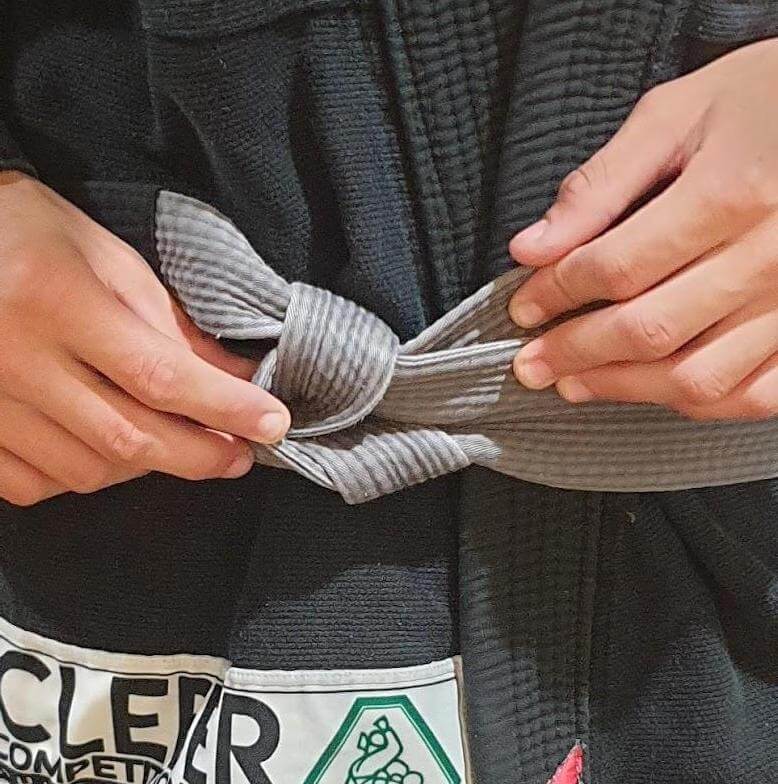
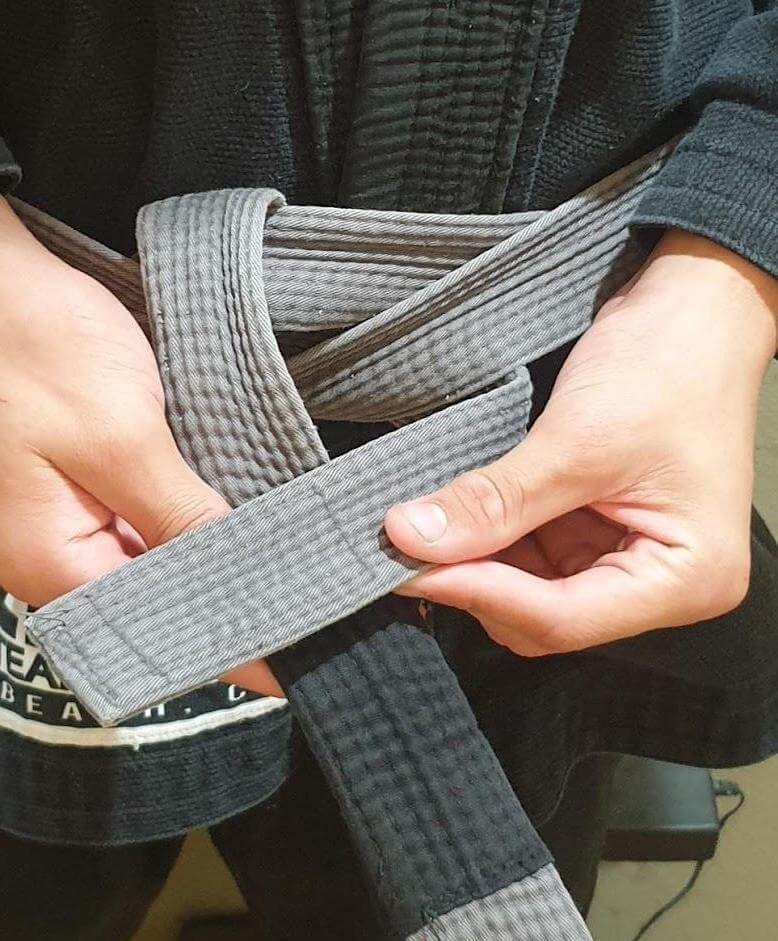
10. You know you have done it right when there are two tails going through the one loop when you look underneath your knot.

11. This is the final finished product.
We wish you well on your JiuJitsu journey!
More from thewellthieone.com
The links used on thewellthieone.com are affiliate links, which may provide a small commission. This does not increase the price of the goods for the consumer whatsoever. What it does is ensure that useful content like this can continue to be produced. Thank-you for enjoying our content and allowing us to continue to provide more.