

Childhood memories in Boston with my aunt Tamra seem to never fade away when I taste anything reminiscent of the homemade kettle chips we used to make together.
It was an event my stomach would look forward to every time Auntie and I got together as she mixed the perfect combination of salt, dried vinegar and other secret ingredients to season the chips.
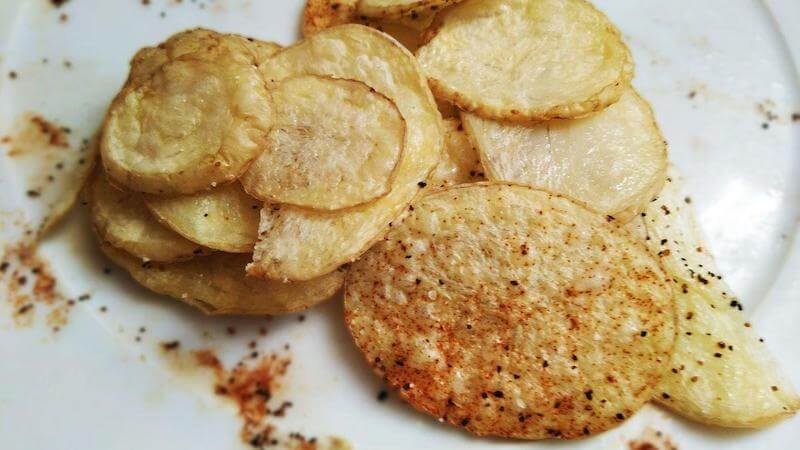
The process was like a dance – she scooped up just the right amount of potatoes and set them into boiling oil. Then, once done and resting on a baking sheet, she added a sprinkle of homemade salt and vinegar seasoning from memory that made it oh so tasty.
Watching her expertly whip up such a delicious treat gave me a true appreciation for homestyle cooking that I still rely on today.
Any time I have something with just the right amount of salt n’ vinegar goodness (like Auntie’s chips), I’m transported back to those long forgotten days spent nurturing my inner chef in Boston under Aunt Tamra’s patient eye.
Making delicious salt and vinegar chips from scratch doesn’t have to be complicated. With just a few ingredients and the right method, you can make some great chips in no time! Here’s what you’ll need:
Ingredients for salt and vinegar chips
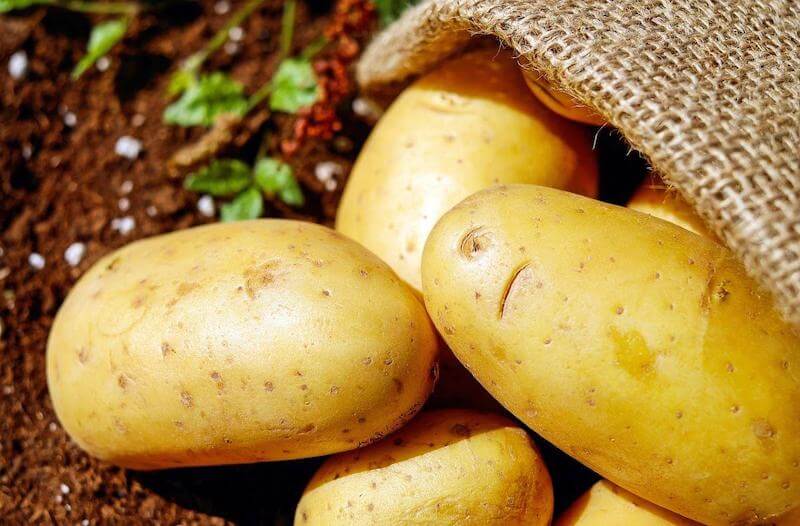
- Potatoes of your choice – Any variety will do, though Yukon Gold provide the best flavor.
You will need to use a mandolin to slice them very fine, since they may get soggy if they are too thick.
- ½ cup of baking soda
- 8.5 cups of white vinegar, or vinegar of choice
- Kosher or Sea salt (to taste)
- Cooking oil (as needed) If you can use oils like avocado or safflower rather than vegetable oil, you will make a healthier chip
Now let’s get started.
Directions on how to make salt and vinegar seasoning
- Preheat your oven to 400 degrees.
- In a large saucepan, place ½ cup of baking soda. Be sure your saucepan is large because the baking soda is going to bubble up.
- Add 8.5 cups of white vinegar, or vinegar of choice. Add it gradually. As the frothing goes down, add more white vinegar until all of it is added.
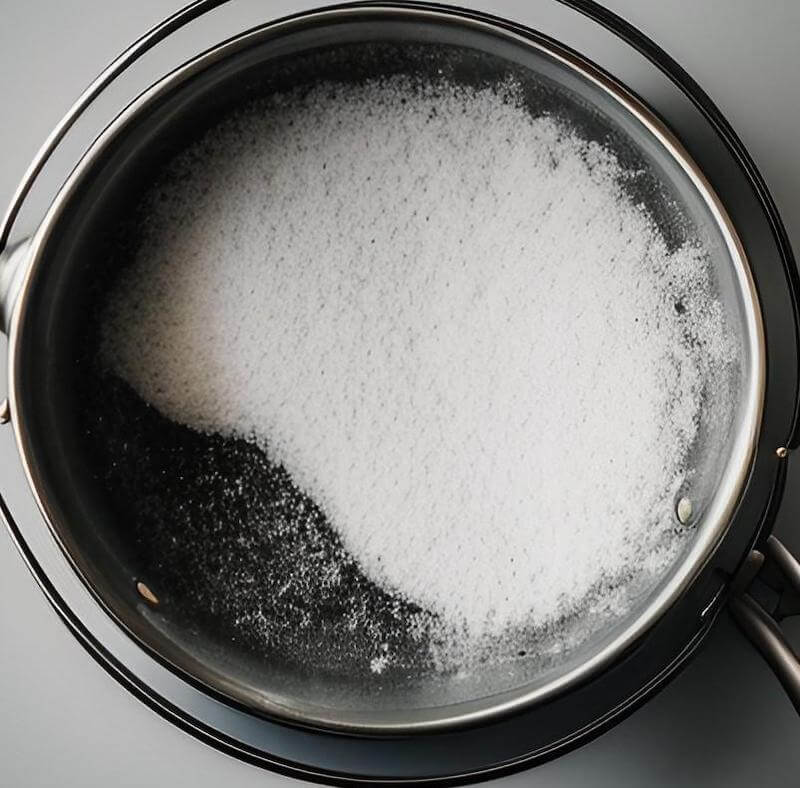
Use a spatula or wooden spoon to help contain the frothing bubbles.
- After all of the frothing is over, turn the heat on the stove up to high.
- Cook the mixture. As it is cooking, you will see white powder get stuck to the side of the saucepan. Use a spatula to scrape it down back into the baking soda and vinegar mixture.
- Soon all of the frothy bubbles will be gone as the mixture gets hot and starts to cook.

- The mixture will become a golden color.
- Reduce the mixture until it becomes 1/10th of the amount of original liquid, or just under a cup. Estimations are fine.
- Pour the above reduced liquid directly into a deep oven tray in 2 batches. You don’t want too much depth because we are going to bake this reduced liquid into a powder, so the more surface area it has to do this, the better.
- Place in the oven and bake until the liquid turns white like snow, cooking time will depend on a variety of factors like how deep your pan is and altitude.
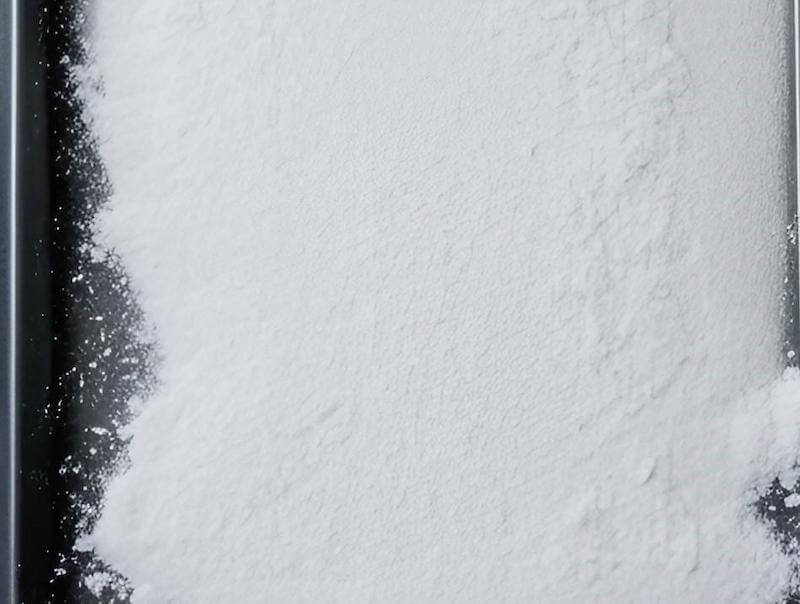
- Next, grind the snowy white textured product from the oven with a mortar and pestle or similar.
- Add as much or as little salt to each batch as you prefer to the mixture that you are grinding down with your mortar and pestle.
- It should taste super vinegary, so much that your whole face puckers!

Super Cooking Channel will show you how to make salt and vinegar chips seasoning in his video:
Directions on how to make homemade potato chips in a deep pot or a deep fryer:
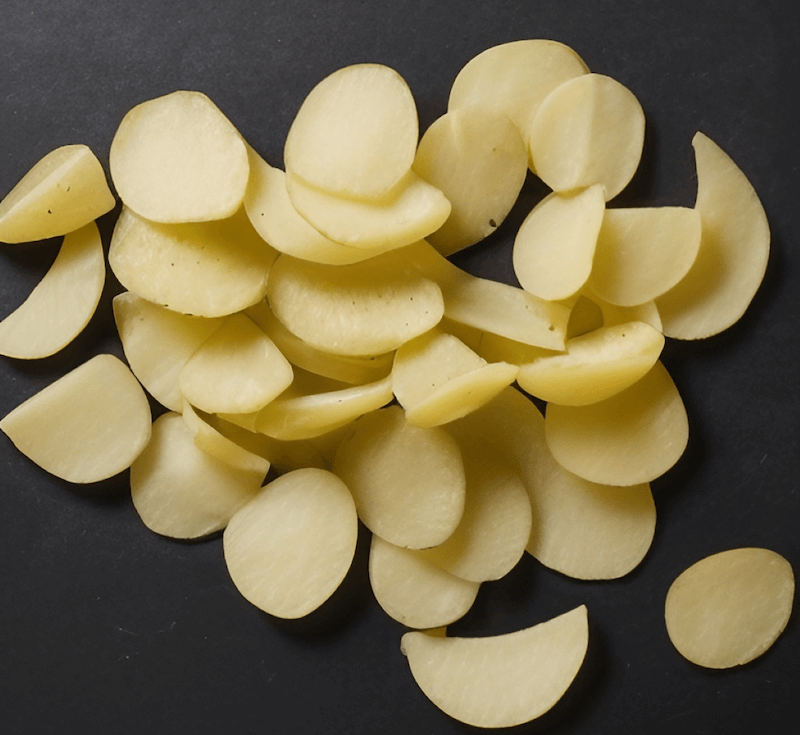
- Start by washing the potatoes and cutting them into slices that are between 1/16” inch thick, that is the sweet spot for the best chips.
A mandolin is a great tool for this process, to get them all uniform and sliced very thin.
- Line one baking sheet with a clean kitchen towel and place a wire rack in a second baking sheet.

- Place a few layers of paper towels on the wire rack sheet. Set these aside for now.
- Place your thinly sliced potatoes in a large bowl and cover them with purified cold water.
- Gently agitate the potatoes in the water.
- Pour out the cloudy water and repeat this process until the water no longer turns cloudy. It will take approximately 5 rinses. This removes a good deal of starch.
- Fill a large sauce pan with purified water and bring to a boil over high heat.
- Place all of the potatoes into the saucepan and return to a boil.
- Cook the potatoes until they just start to soften, this is a parboil. This step should take only 2-3 minutes. They are done when the potatoes slightly bend.
This will further reduce the starch inside the potatoes.
- Drain the potatoes well.
- Transfer the potatoes to the baking sheet with the clean kitchen towel on it. Pat dry. They need to be as dry as possible for the best result when deep frying them next.
- Use a Dutch oven or a deep fryer with oil that is approx. 325 degrees. Use a thermometor to keep the temperature as close to 325 throughout cooking all of the chips.
- Deep fry in small batches. This ensures that the oil temperature will not drop too much, which could cause soggy or oily chips.
- Stir the chips frequently with a wire slotted spoon.
- Stir until the chips turn golden brown and stop bubbling in the oil, which is about 3-4 minutes. This means the water has been cooked away and the chips are now crisp.
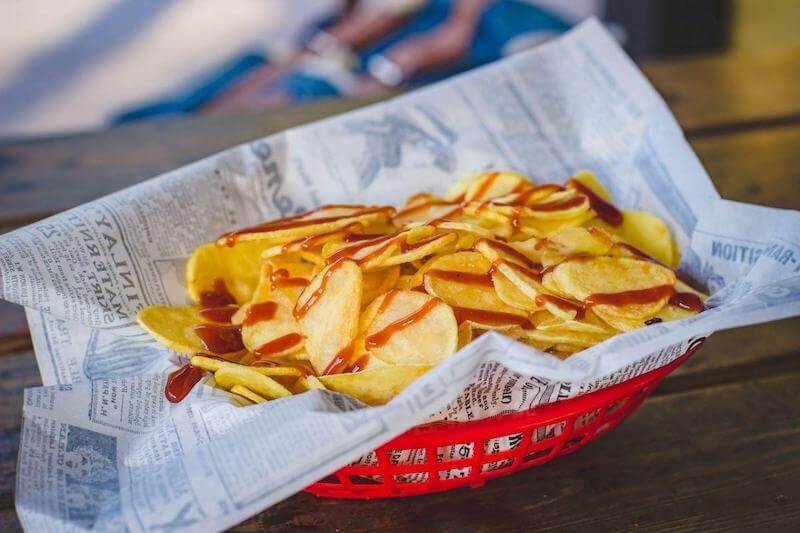
- Place the cooked chips on the baking sheet with paper towel on it. Add the salt and vinegar seasoning while they are still hot to help the seasoning adhere to the chip.
- Repeat the batch cooking until all of your potato chips are cooked.
Enjoy!!
America’s Test Kitchen will show you how:
Enjoy!
More from thewellthieone.com
The links used on thewellthieone.com are affiliate links, which may provide a small commission. This does not increase the price of the goods for the consumer whatsoever. What it does is ensure that useful content like this can continue to be produced. Thank-you for enjoying our content and allowing us to continue to provide more.


